Advanced Buttermilk or Milk Paint Antique finish look technique

As a follow-up to this method which has previously been posted to our Forums, here is a more advanced technique which will allow you to give an antique finish look with Buttermilk or Milk paint. This technique is more advanced, but will give you more freedom to choose among many finishing options.
1: Surface preparation
- Sand the area to be painted with a 120 grit sandpaper;
- Round the edges with a plane, a spokeshave or sandpaper;
- Make small depressions on the wood surface with a small wire brush;
- Create a worn, damaged look with the help of a chisel, keys or other tools. Add decades to your wood, let your imagination flow!
2: Background stain (optional)
- You can use a translucent background stain that will show when the paint is worn, and will give the impression of aged wood;
- Any dyeing product can be used, but the most popular solution is a coat of diluted Walnut Stain (100 g / Liter of water), which dries quickly and gives a beautiful aged wood shade;
- If the walnut stain is used, it can be sealed with a thin coat of shellac or diluted water based varnish (2 part varnish to 1 part water ) for optimal results, although this is not necessary. The sealant coat must be thin so as not to prevent the adhesion of the next paint coat.
3: Anti-Adhesion medium Application
- To make things simpler when the times come to give a worn effect over the buttermilk or milk paint, we must be able to see the wood. This is why we need to use a product which will prevent the adhesion of paint on strategic spots on the surface where we want to chip the paint and create a worn effect. You can either choose between water-based varnish, shellac, wax, or oil;
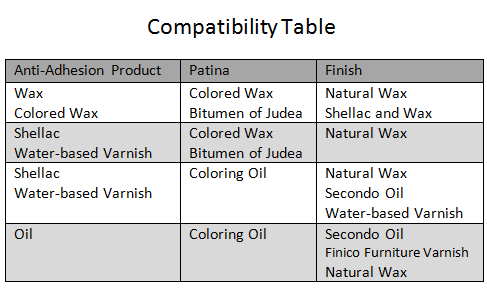
- The choice of anti-adhesion medium must be based on the final protection that will be applied to the surface, since the two products must be compatible. See the compatibility table below for further information (Click on image).
4: First paint coat
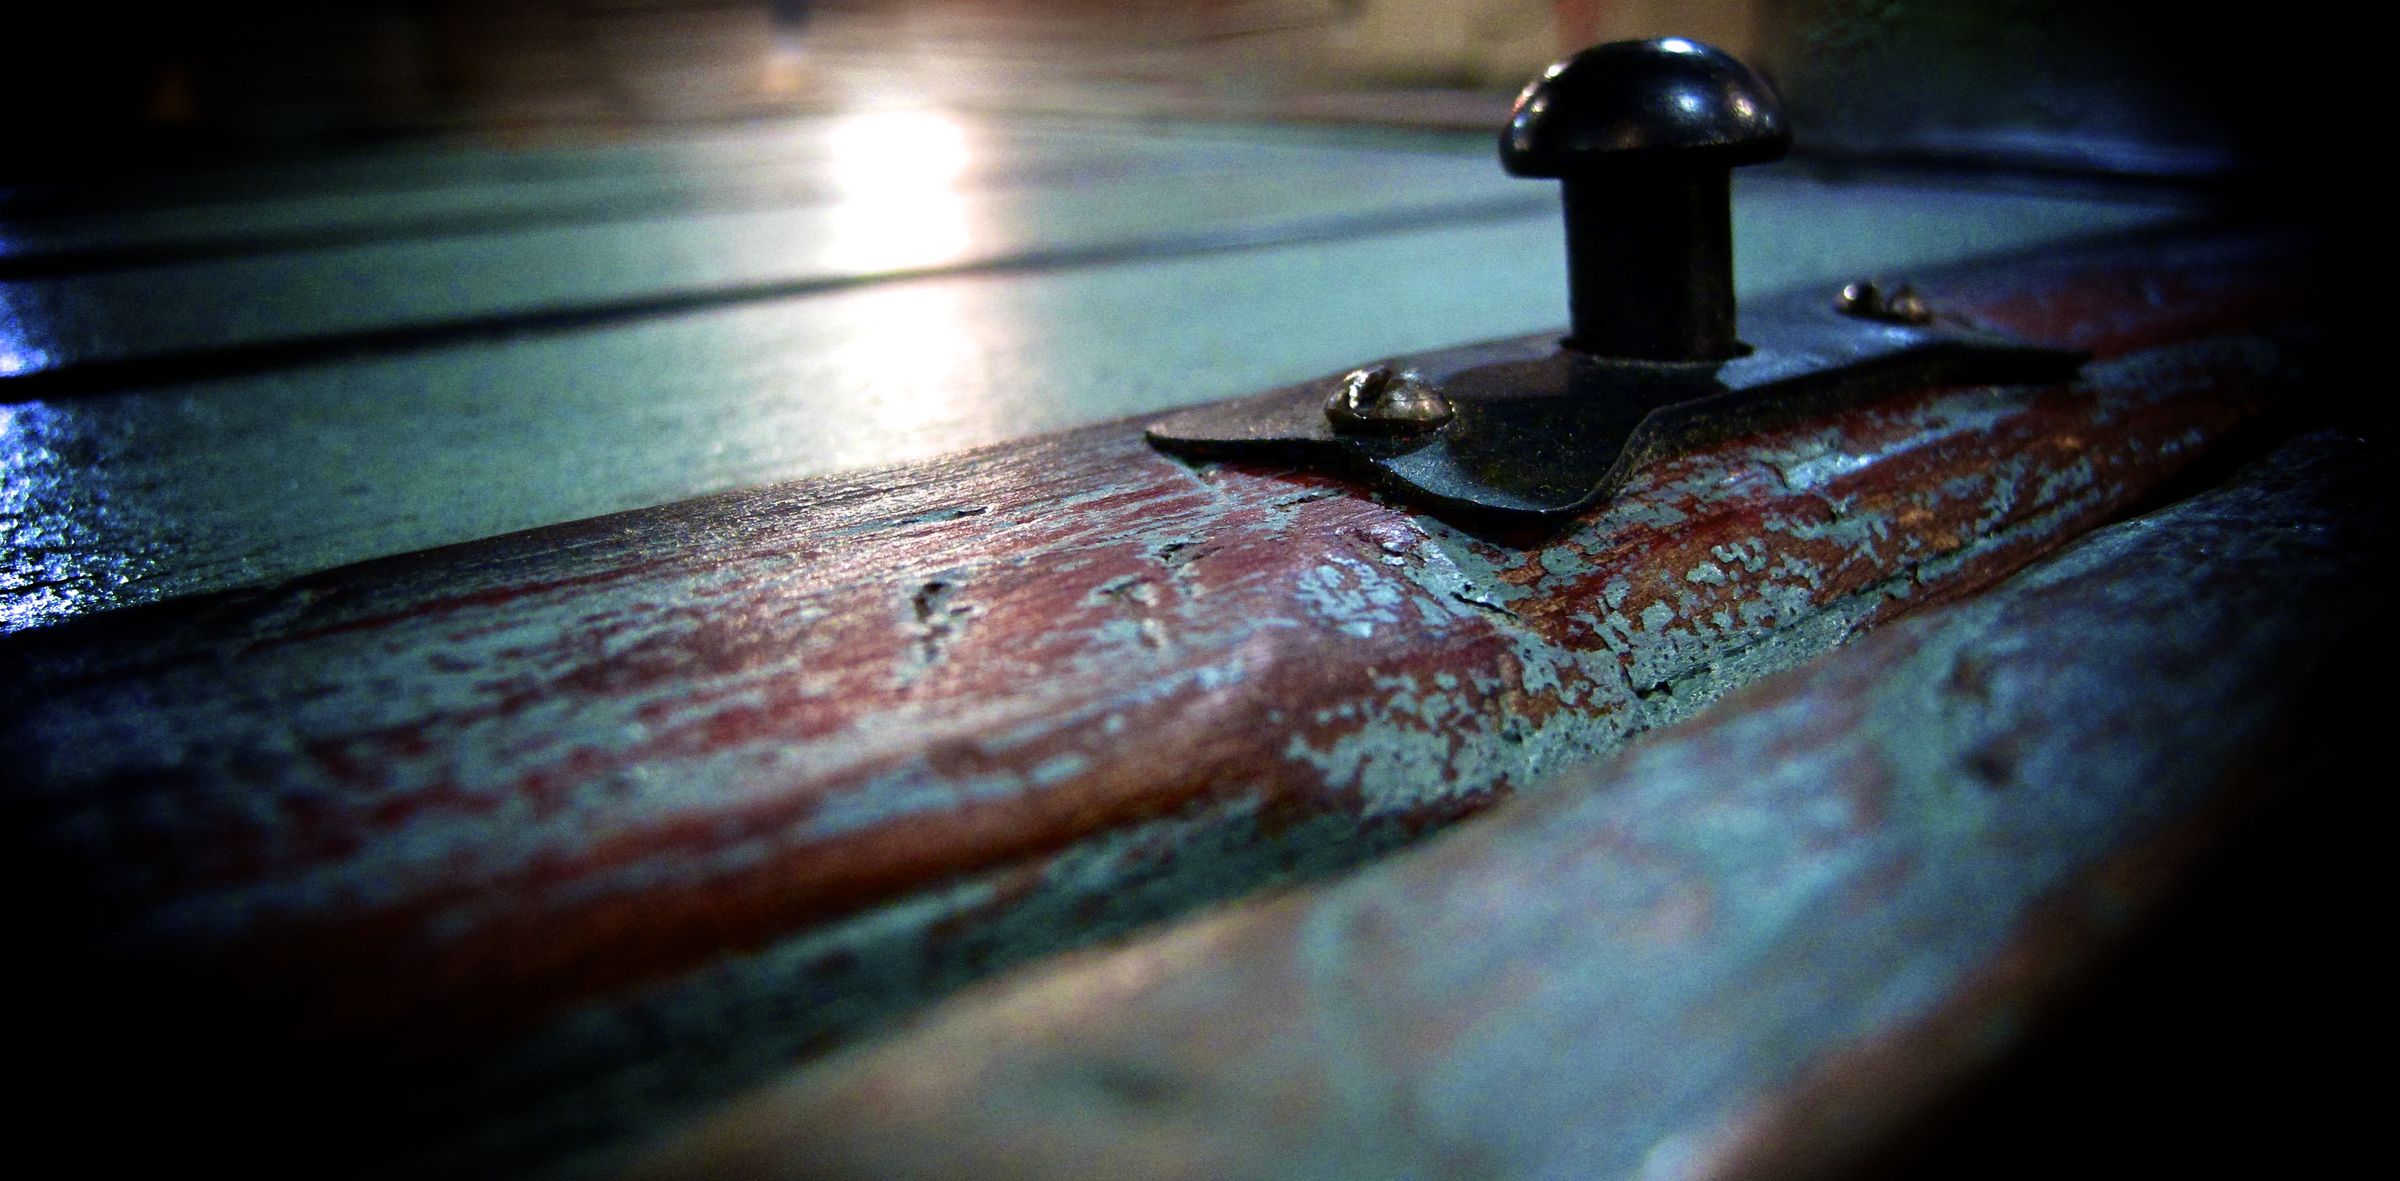
- Apply the first coat of paint respecting the orientation of the wood grain, with a color of your choosing. Refer to the pictures below if you need some inspiration;
- A hair dryer can be used to speed up the drying process.
5: Crackling medium application
- The application of gum arabic, from the acacia tree (100% vegetal) will help us to create cracks on the second coat of paint;
- Mix one part water for one part gum arabic powder. Mix by gradually adding the powder in the water until smooth and apply the mix on the first coat of Milk paint.
6: Second paint coat
- Once the gum arabic mix has dried but is still a little sticky, apply the second coat of paint (different color);
- Once again, you can speed up the drying process with the help of a hair dryer, which will also help to crack the paint more efficiently.
7: Worn effect
- Once dry, the paint must be sanded to make it smooth. You can use either a 220 grit sandpaper, a scraper or a cloth moistened with warm water;
- Sand/Scrape in strategic spots to bring out either the first coat of paint or the background stain (or natural wood color, if you have not used any stain).
8 : Finishing
- It's time to choose the product which will make our aging patina. Before you choose, it’s important to take into account the final layer of protection that best suits your project’s surface. Do you want to finish with wax or varnish? Look at the compatibility table below (Click on the image).
Do not hesitate to let us know if you have any question or comments regarding this method!